Step-by-Step Guide to Parallel Wiring a 70-Volt Audio System for Easy Installation and Maintenance
5th Sep 2024
Setting up a 70-volt audio system may seem complex, but with the right guidance, it's actually quite simple. In this article, we'll show you how to wire your 70-volt speakers in parallel to keep your system running smoothly and efficiently.
Understanding 70-Volt Systems
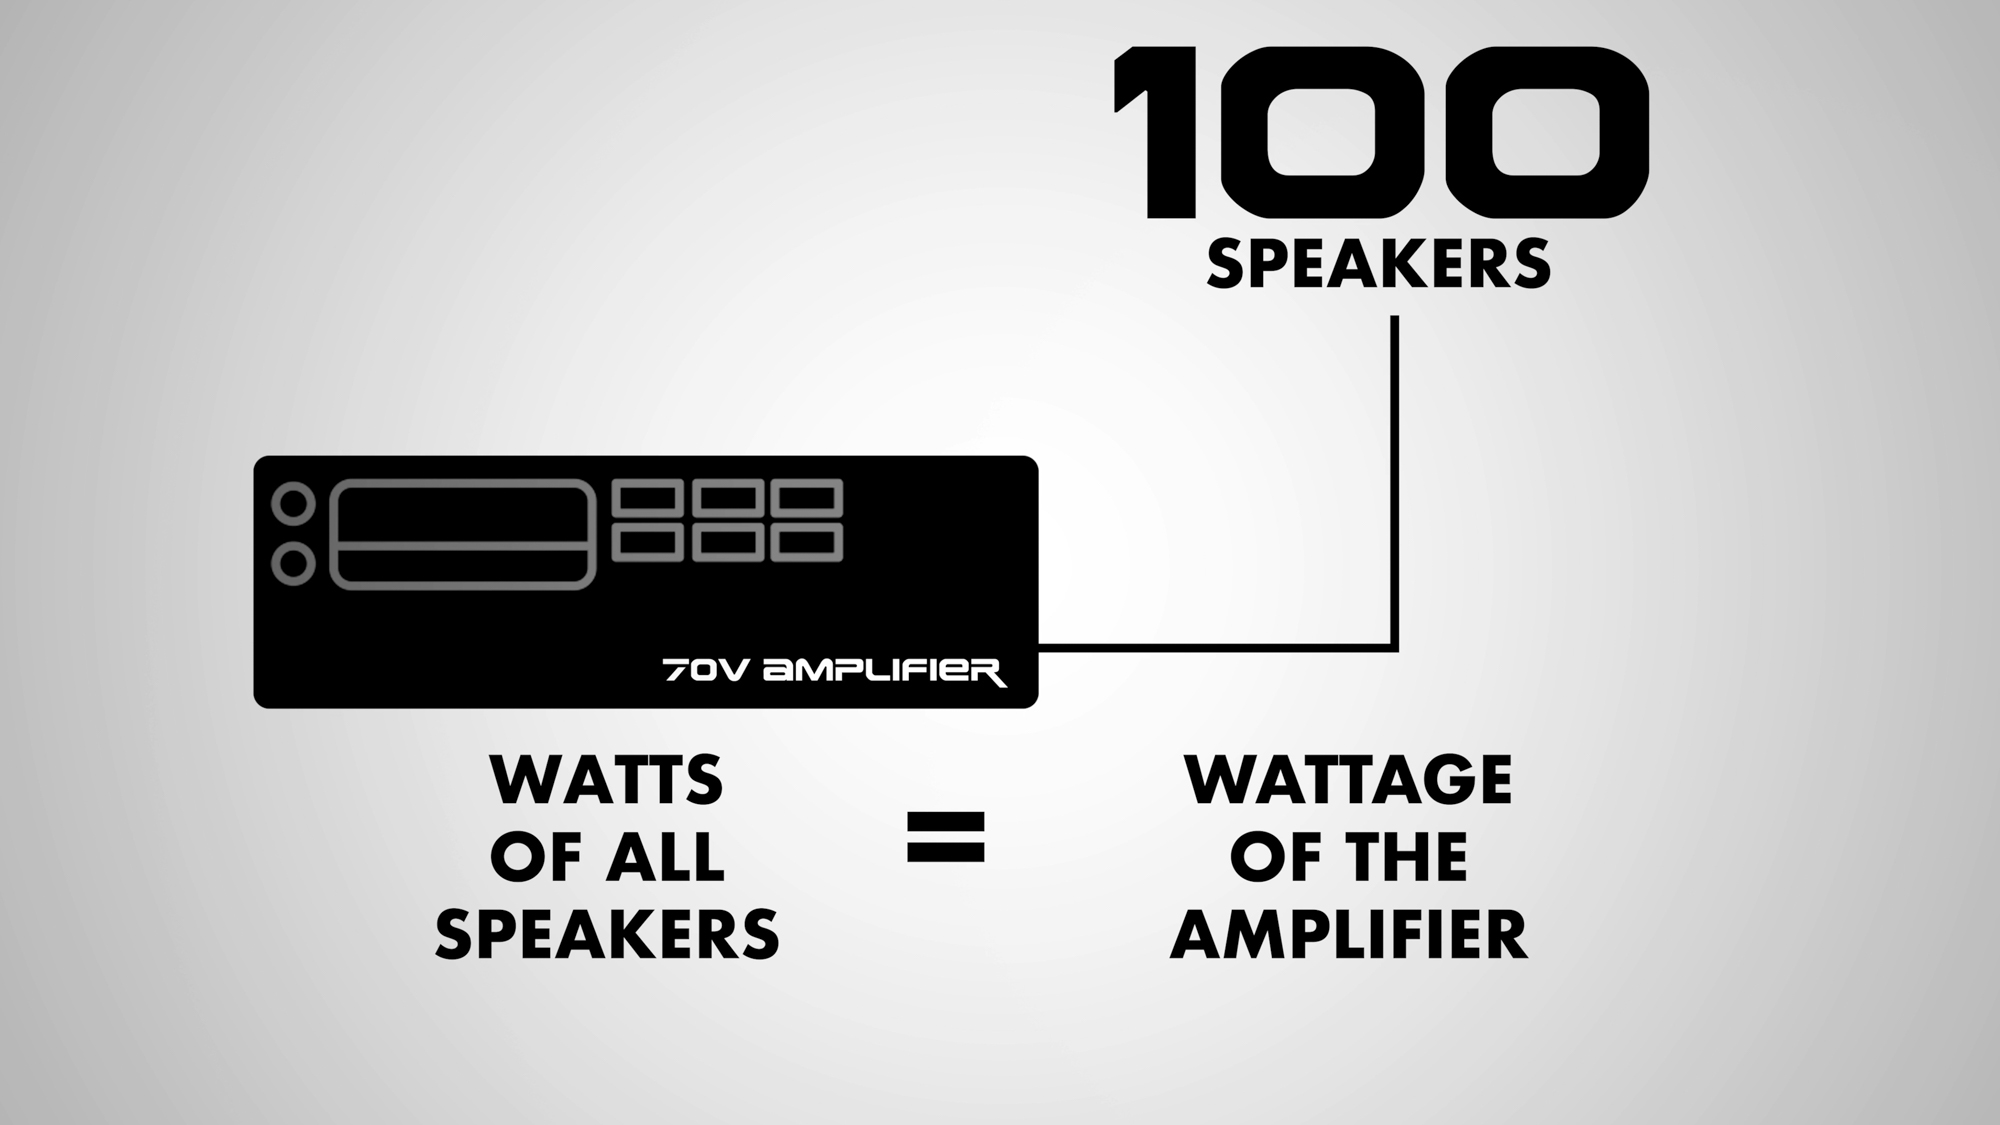
Before we dive into the wiring process, it's important to understand how 70-volt systems work. These systems allow you to drive multiple speakers from a single amplifier at a fixed and constant wattage. This makes 70-volt systems ideal for commercial installations such as schools, offices, or large public spaces.
Key Components
- 70-Volt Amplifier: Power multiple speakers from one unit.
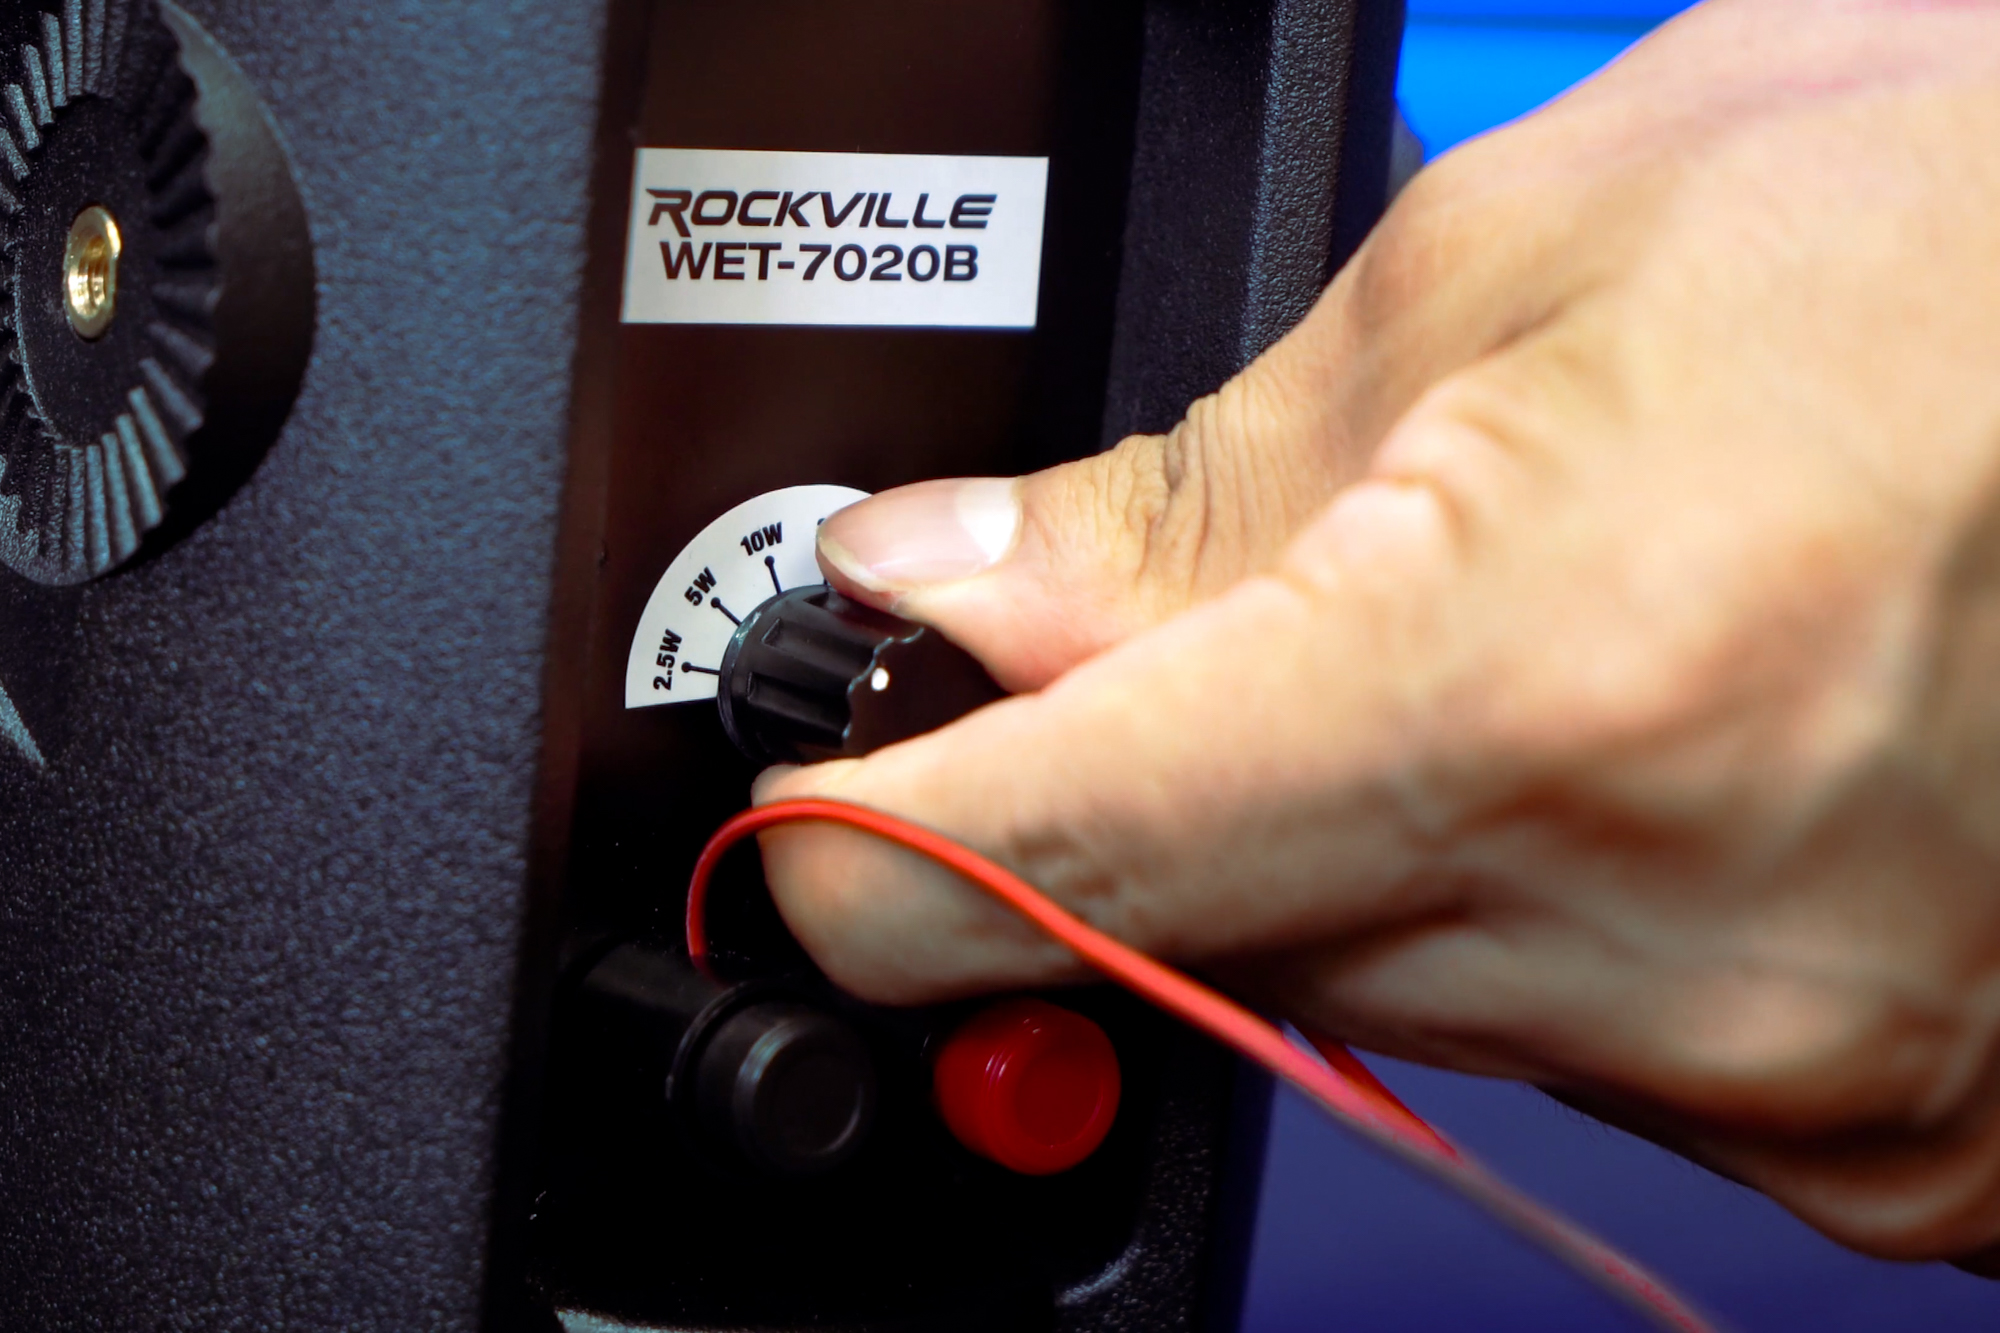
- Speakers with built-in transformers (taps): These transformers allow each speaker to draw a specific wattage from the amplifier.
How It Works
- The amplifier outputs a constant voltage (70 volts), and each speaker draws power based on the tap setting.
- You can run many speakers from one amplifier by matching the total wattage drawn by the speakers to the output of the amplifier.
For example, if your amplifier is rated at 100 watts, you can tap each speaker at 5 watts and run 20 speakers on the same system.

The Benefits of Parallel Wiring
One of the great advantages of a 70-volt system is the use of parallel wiring. This method involves connecting one speaker to another using the positive and negative terminals. Parallel wiring simplifies the process of adding additional speakers or replacing faulty speakers.
Step-by-Step: How to Parallel Wire Your 70-Volt System
What You'll Need
- 70-Volt Amplifier
- 70-Volt Speakers
- Speaker Wire: Standard two-conductor speaker wire will work.
Step 1: Connecting the First Speaker
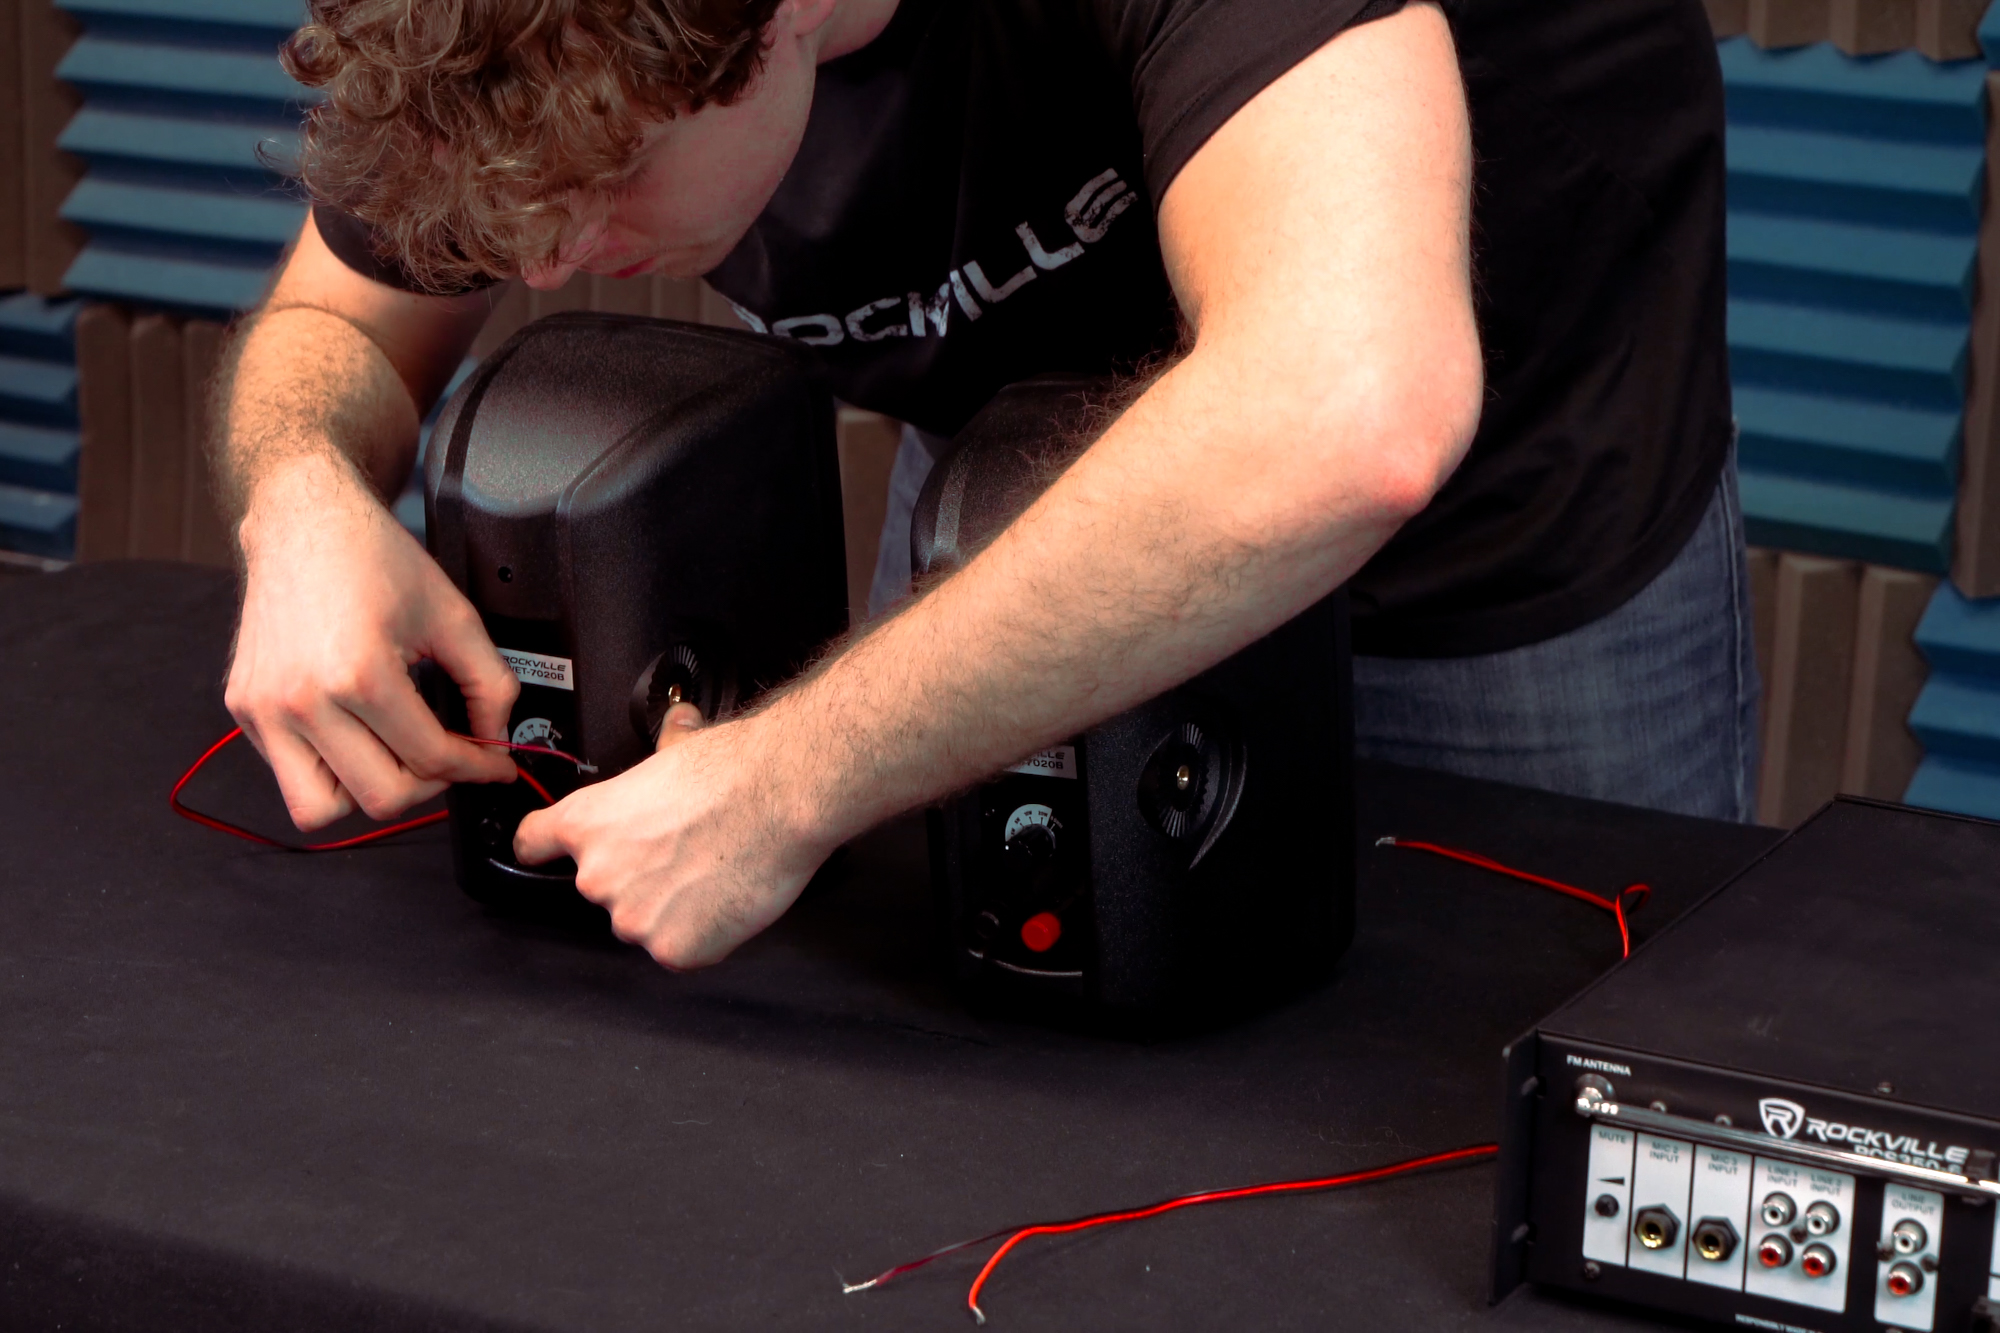
- Connect the Positive Wire: Take the red (positive) end of the speaker wire and connect it to the red positive terminal on the speaker.
- Connect the Negative Wire Connect the black (negative) wire to the black negative terminal on the speaker.
Step 2: Daisy-Chaining the Speakers
- Continue the process: Take the other end of the speaker wire and connect it to the next speaker in the chain. Connect the positive wire to the positive terminal and the negative wire to the negative terminal.
- Repeat the process: Continue this daisy-chaining process for each speaker in your system until all speakers are connected.
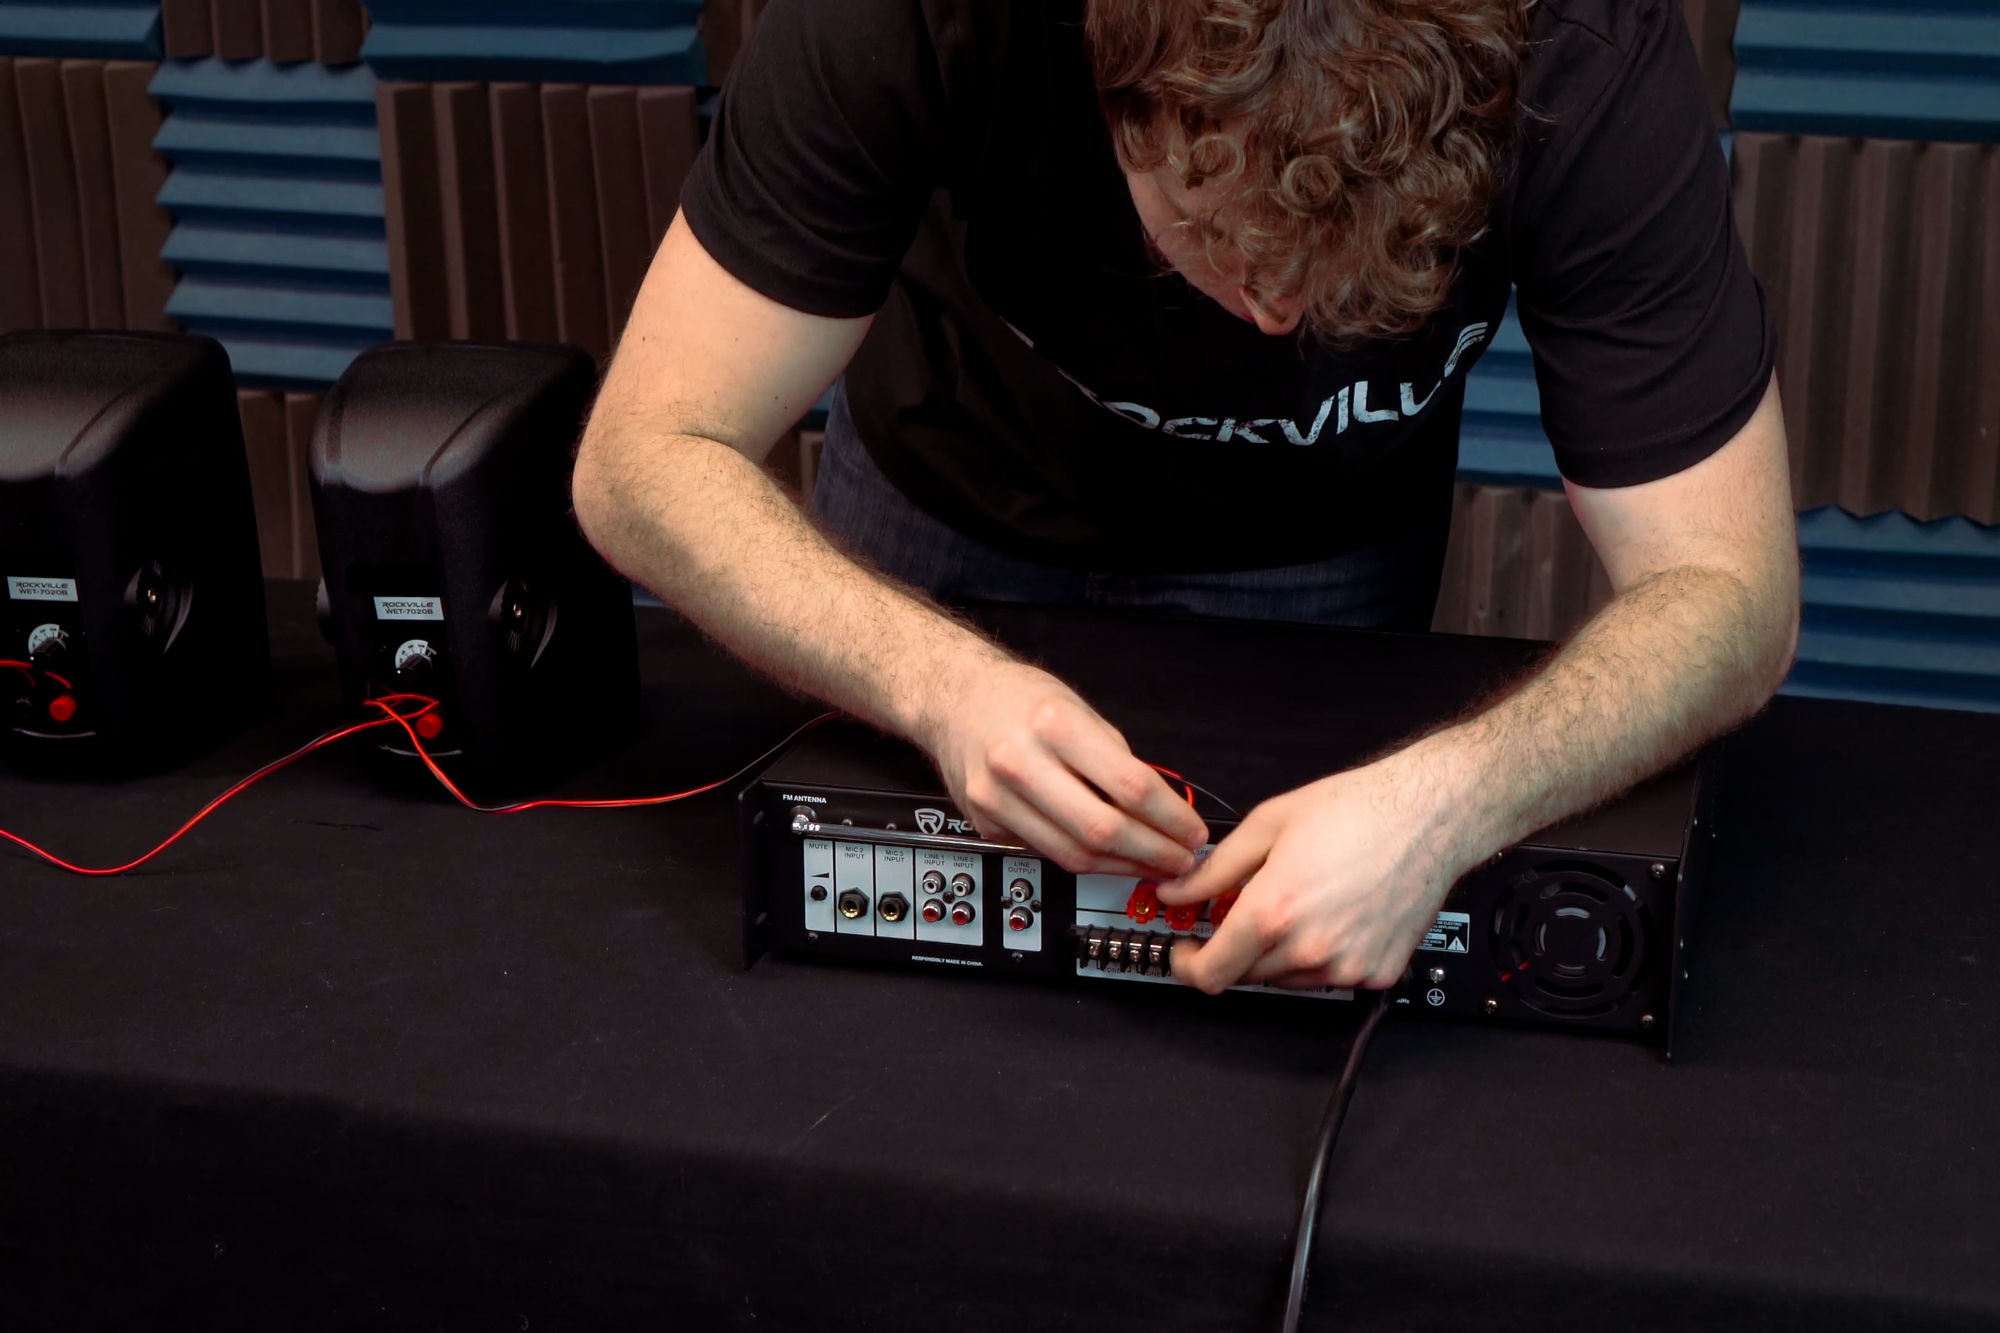
Step 3: Connecting to the Amplifier
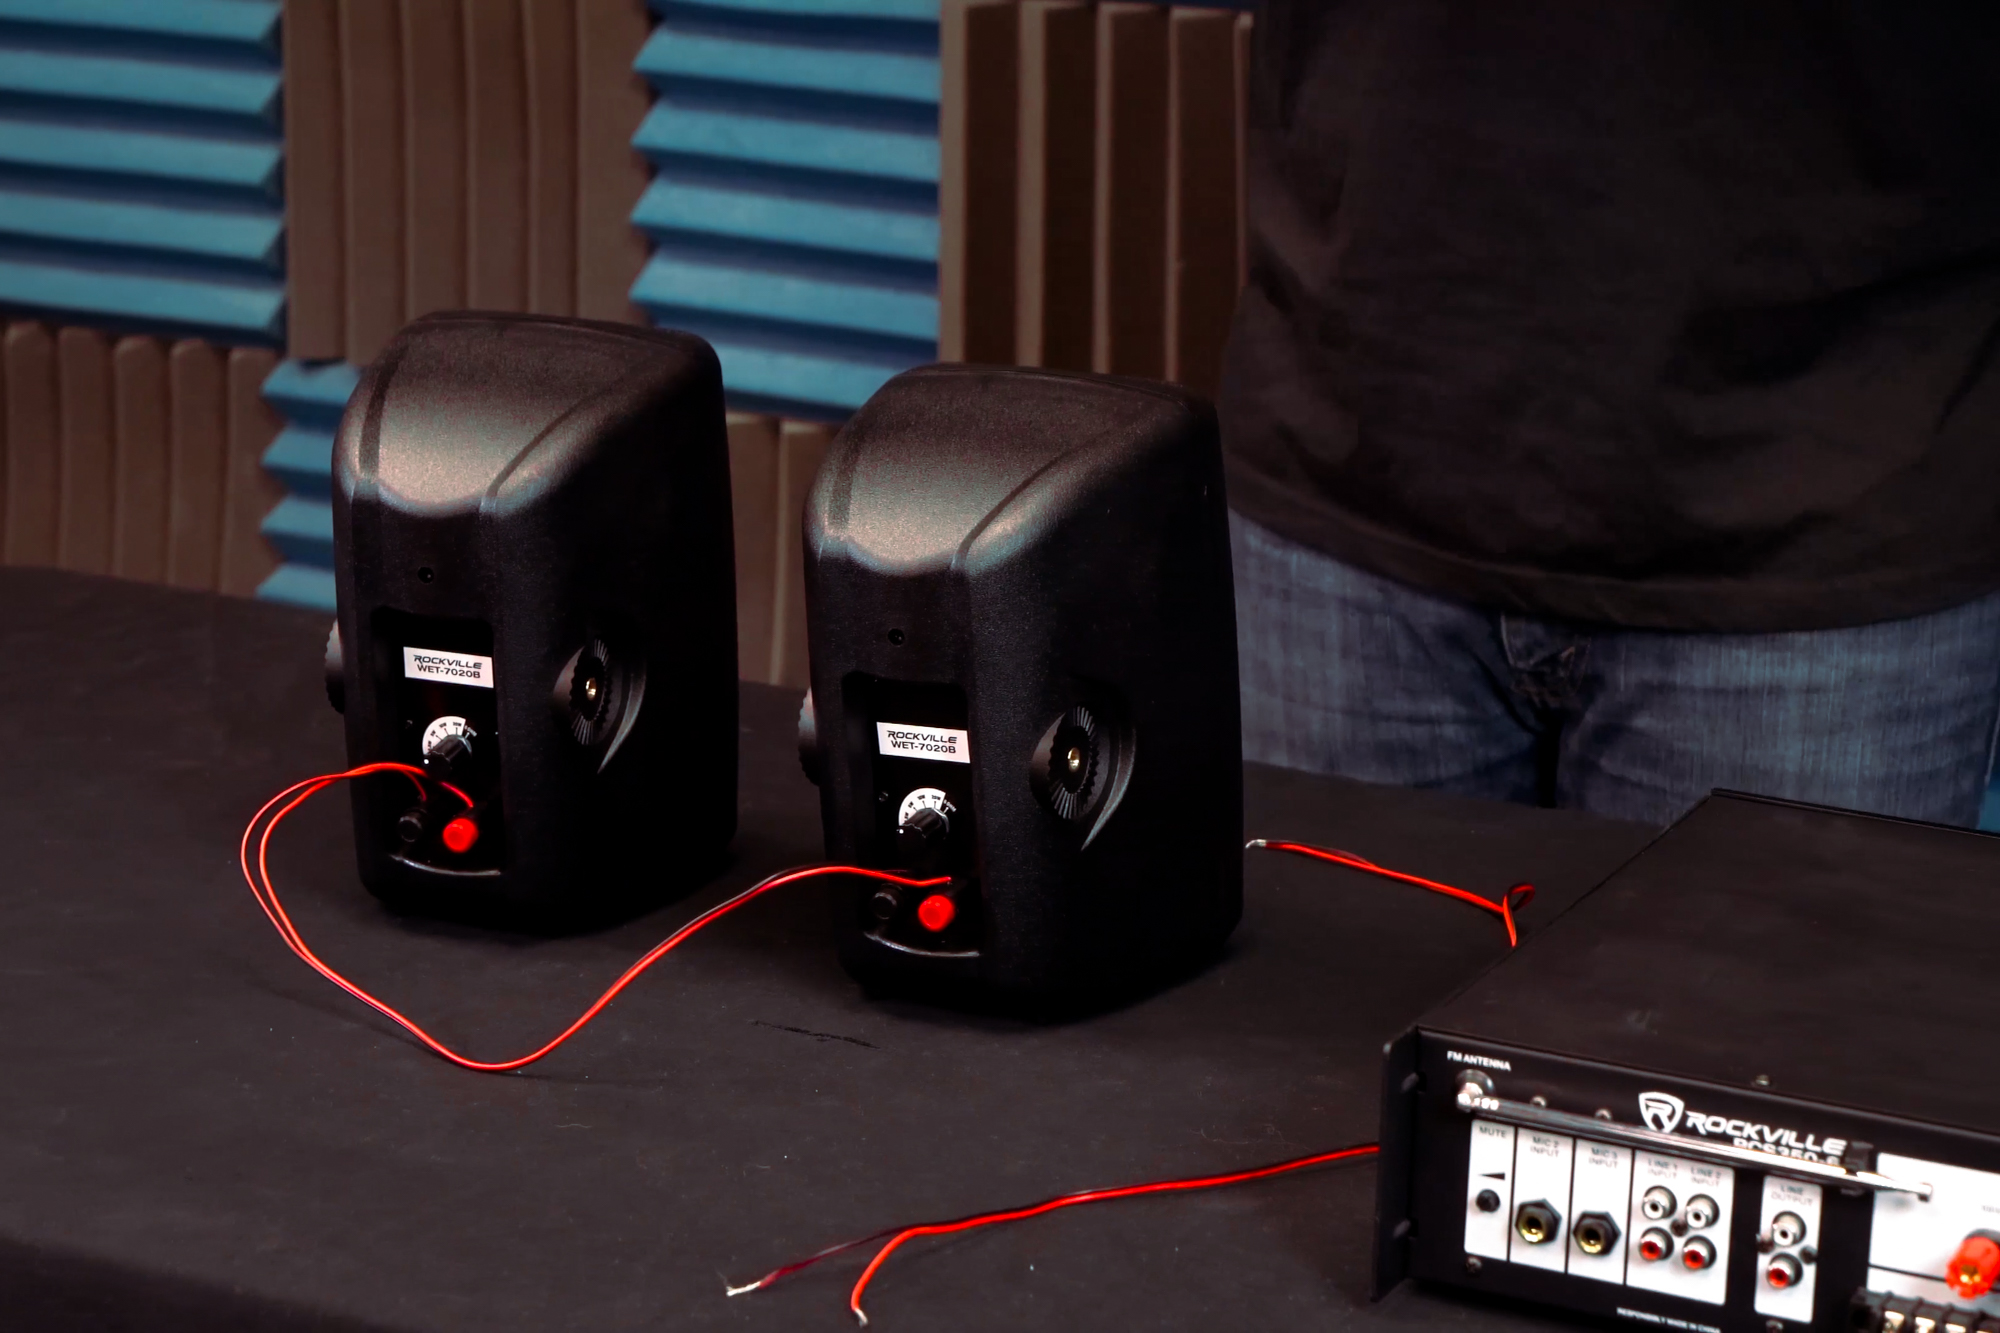
- Prepare the final speaker: Once you've wired all your speakers, you need to connect the last speaker in the chain to your amplifier.
- Connect to the amplifier: Take a new speaker wire and connect the positive wire to the positive terminal of the last speaker. Then connect the negative wire to the negative terminal.
- Plug the other end of the wire into the direct output of your amplifier.
Step 4: Test the System
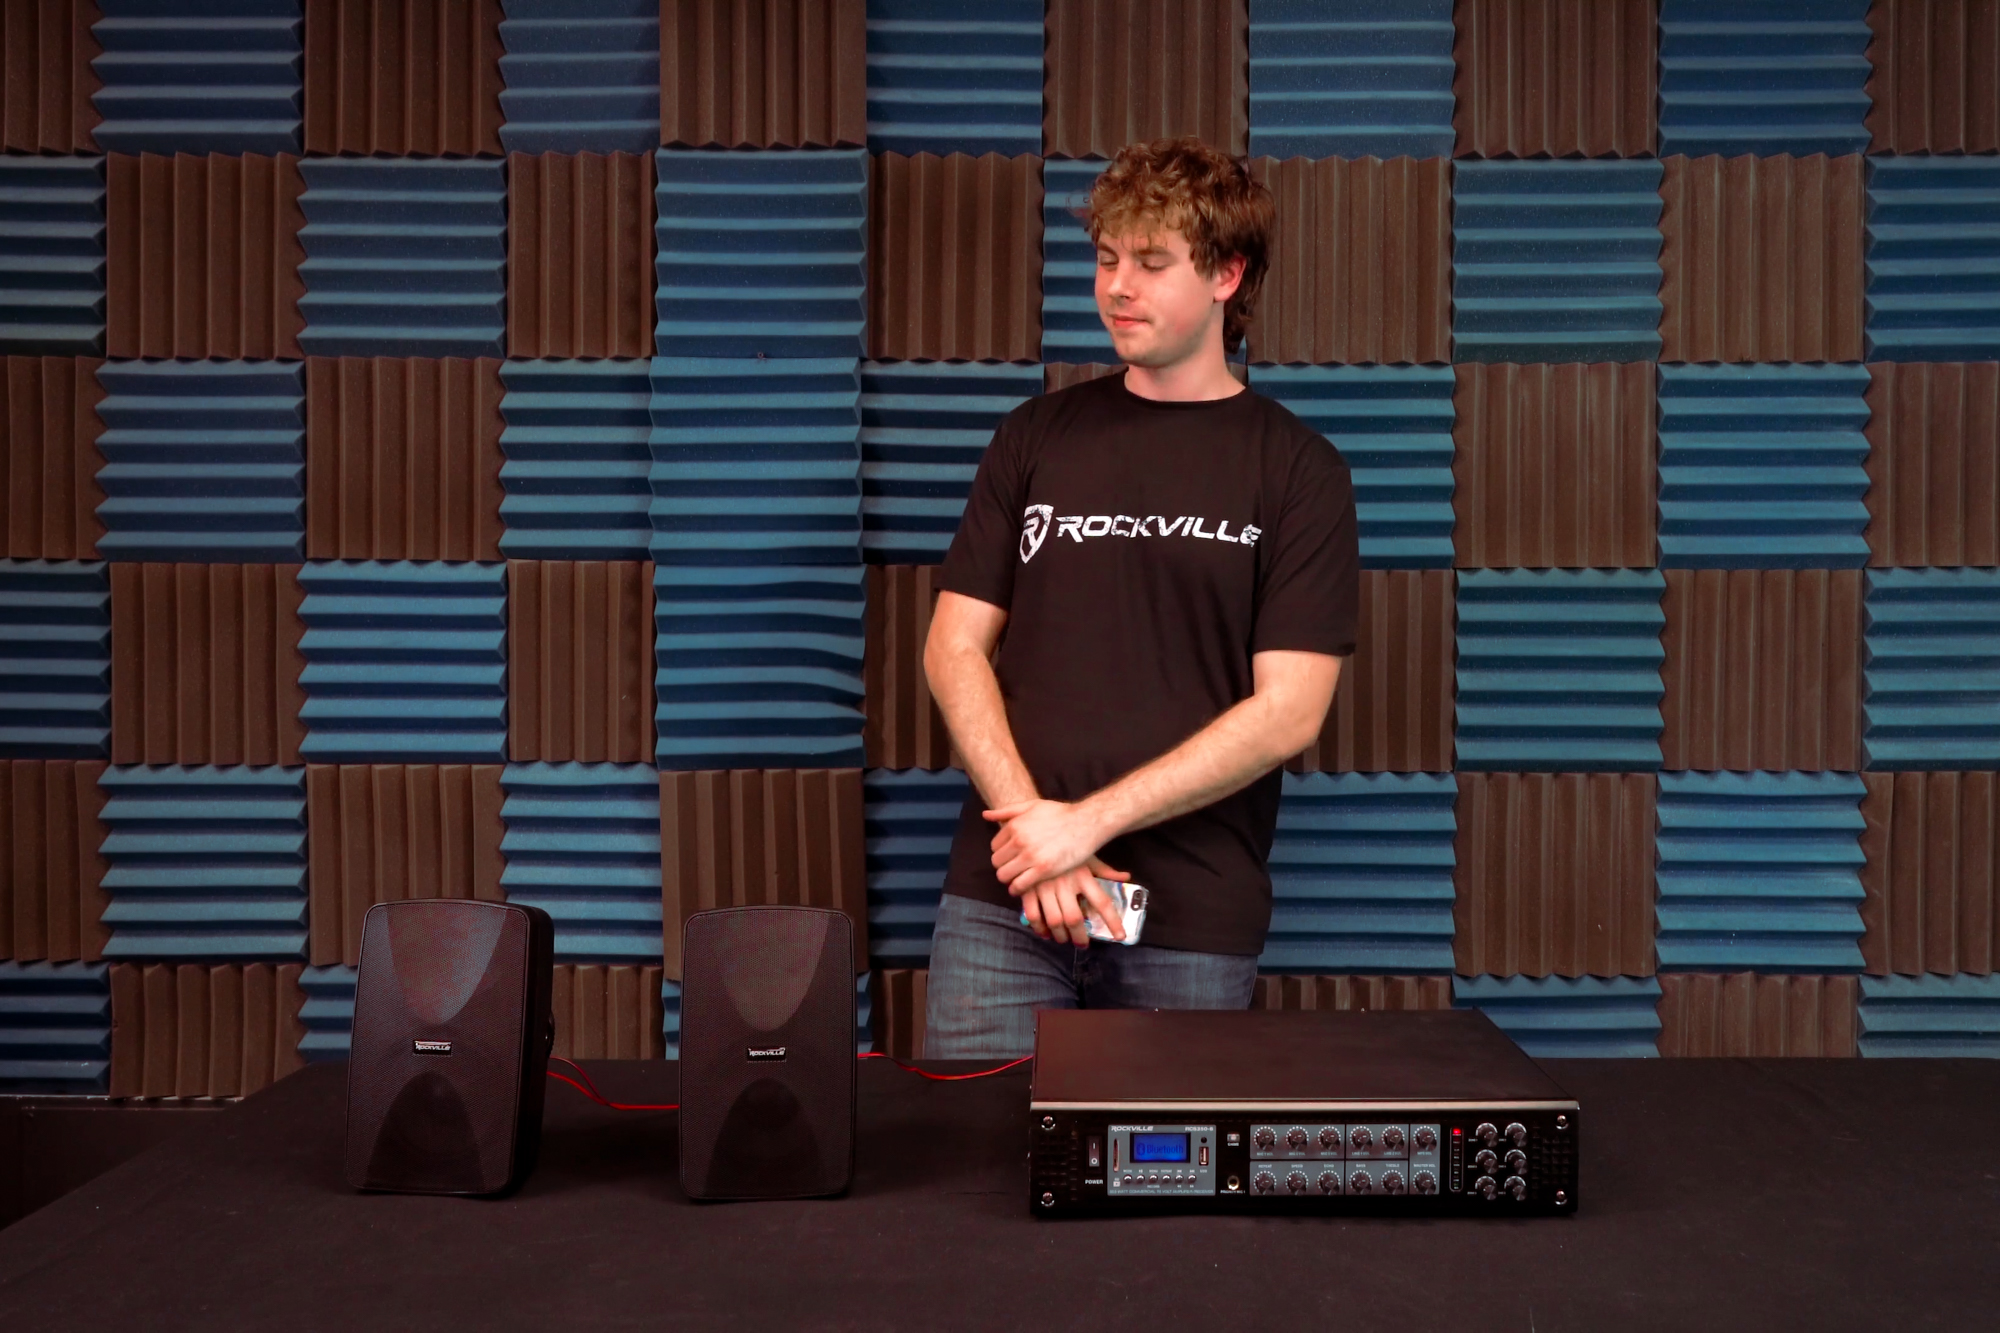
- Turn on the system: Once everything is connected, turn on your amplifier and test the system.
- Listen for clarity: Play some music or an audio signal to make sure all the speakers are working properly.
Conclusion
Parallel wiring your 70-volt audio system is a simple and effective way to ensure that your setup is both scalable and easy to manage. Whether you're adding new speakers or replacing old ones, parallel wiring makes the process hassle-free.
If you have any questions or need further assistance, don't hesitate to contact Rockville's customer support team.
Happy wiring and enjoy your perfectly tuned audio system!

